People usually book Auto Glass Replacement on a bad day. A rock pops off a truck tire, a storm knocks a branch across the windshield, or an old chip turns into a full-blown crack after a cold night. The good news is a well-run appointment can turn a headache into a quick fix, and done right, your car leaves safer than it arrived. If you have never been through a Windshield Replacement or you want to make sure the shop you chose does things correctly, here is a seasoned view of what happens, how to prepare, and how to judge the work.
How to know you need replacement instead of repair
A repair fills a small chip or crack with resin. It is fast, inexpensive, and often covered by insurance with no deductible. Replacement is a different animal. If the damage stretches beyond a repairable size, or sits in the driver’s direct line of sight, the technician will advise a full replacement.
Shops vary slightly, but there is a consensus on these thresholds:
- A crack longer than a credit card will likely require replacement. Any damage that reaches the glass edge undermines structural integrity and pushes you toward replacement. Multiple chips clustered together usually point to replacement. Damage in front of your eyes, even if small, can distort light and make repairs noticeable. Many states and insurers push for replacement in this zone.
That judgment call matters because your windshield does more than block wind. It supports the roof in a rollover, anchors the passenger-side airbag during deployment, and keeps the vehicle’s cabin rigid. In other words, Auto Glass is a safety component, not just a window.
Before your appointment: practical prep that saves time
Shops appreciate a little groundwork. Clearing personal items from the dash, the front seats, and the trunk helps. A wide-open front seat lets the technician maneuver tools, place protective covers, and position the new glass without bumping into clutter. If your vehicle has aftermarket accessories near the glass, like a dashcam hardwired to the headliner, mention it when you book. Technicians plan differently for wires, adhesive mounts, and sensor placements.
If you’re opting for mobile service, choose a spot with stable footing and good weather coverage. A garage or carport is ideal. Adhesive cures best within a certain temperature and humidity range. Open gravel lots, heavy winds, or rain complicate the job and may delay it. Good shops carry canopies and heaters or fans, but there’s a limit to what they can safely overcome in the field.
Lastly, confirm details before the tech arrives. Vehicle identification number, trim level, and feature list help ensure the right glass shows up the first time. A single model year can have multiple windshield variants, especially on vehicles with driver assistance systems like lane departure or automatic emergency braking. The glass may need a mounting bracket for sensors, acoustic interlayers for quiet cabins, or a rain-sensing zone. The wrong windshield can fit physically but fail electronically.
How long it takes and what the timeline looks like
Set aside a couple of hours for the appointment itself, and plan for a safe-drive-away time after adhesive application. The job breaks into discreet phases, each with its own pace.
The inspection and protection phase is quick, usually 10 to 20 minutes. The technician verifies the glass matches, checks existing damage around the pinch weld, and looks for signs of previous replacement work. They lay out fender covers and seat protection, then disconnect any fragile trim clips.
Removal varies by vehicle and how stubborn the old adhesive is. Expect 20 to 40 minutes for a typical car or crossover. Large SUVs, heavily sealed factory installations, or corroded pinch welds can take longer. Good techs never rush this part, they protect the body paint and the dash from scratches.
Surface preparation is the next step, and it rarely gets the attention it deserves. The technician trims the old adhesive to a precise height rather than scraping it bare. The industry calls this technique “full cut” or “bead-on-bead,” and it is the gold standard. They clean, prime bare metal if any appears, and prime the glass where the adhesive will bond. This step dictates whether the replacement will hold up in a crash. It takes another 10 to 25 minutes, depending on complexity.
Setting the glass is fast if the work area is ready and the new windshield has been prepped. Two technicians make this go smoother, though many pros set glass solo using setting tools or vacuum lifts. Once seated, they apply steady, even pressure along the edge to bed the urethane.
Curing time varies by adhesive brand, humidity, and temperature. Most high-quality urethanes advertise a safe-drive-away time of 30 minutes to a few hours. Cold weather can extend this to the high end of the range. Ask the technician for a specific time window, then give it a little extra margin out of caution. Your windshield anchors the passenger airbag during deployment, so the adhesive must reach a certain strength before you drive.
Calibration and reattachment of devices come near the end. More vehicles every year rely on forward-facing cameras, rain sensors, head-up display zones, or heated wiper rests. If your car has Advanced Driver Assistance Systems, the shop will perform an ADAS calibration after Windshield Replacement. Static calibration happens with a target board and level ground. Dynamic calibration happens on a prescribed drive cycle on specific roads at set speeds. Many cars require a combination of both. This part can take 30 minutes to two hours, and it is essential. A misaligned camera can misread lane markings, which is worse than no assist at all.
What the technician actually does, step by step
You’ll see a methodical sequence. First comes power down, not literally disconnecting the battery in most cases, but ensuring electronics in the mirror or camera area are safe to unplug. Interior trim around the A-pillars may come off to reveal clips and retainers. Wiper arms and cowl panels near the base of the glass are removed with care, since broken clips can cause rattles or leaks.
Next, the technician runs a cutting tool around the perimeter of the old windshield. Wire systems, oscillating knives, or cold knives each have their place. Wire tools reduce the risk of paint damage when used correctly, though they require a steady hand to avoid gouging the dash. Pros move slowly here. Paint nicks on the pinch weld invite corrosion later and can lead to bonding failures.
With the old windshield free, the technician lifts it out and sets it aside. Then comes cleanup. They cut the old adhesive bead to a uniform height of a millimeter or two, and only prime where needed. Over-priming can weaken adhesion or cause cosmetic issues. They wipe the glass contact surfaces with appropriate cleaners, not household glass cleaner, which can leave residue.
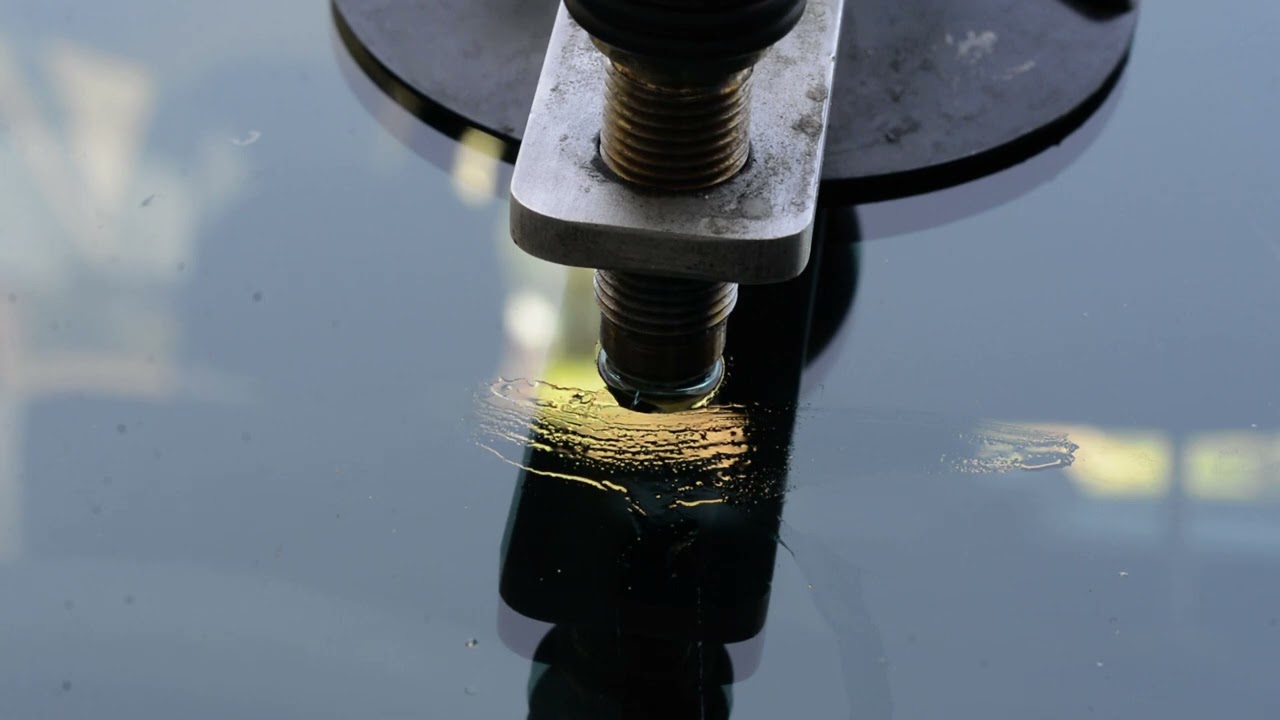
New urethane is applied as a single, continuous bead of a specific thickness. The nozzle angle matters. Too flat and you get voids. Too vertical and the bead collapses. The bead needs a distinct triangular profile to compress evenly when the glass seats. This is the part that separates a careful job from a sloppy one.
The technician sets the new windshield using alignment marks or setting blocks, aiming for even gaps left and right, and a flush surface with the surrounding body. They press around the perimeter and verify that the bead spread looks even inside. Reassembly follows in reverse order, with sensor modules clipped into place and mirror brackets tightened to spec.
Finally, they water test when appropriate. A gentle, uniform flow around the perimeter reveals any leaks. High-pressure car washes are usually avoided immediately after, since they can disturb uncured urethane.
OEM, OEE, and aftermarket glass: what that really means
Customers often ask for “OEM glass,” meaning the same piece that came from the factory. That can be ideal, but it is not always necessary. Original Equipment Manufacturer glass is produced under contract for the automaker, often by the same companies that supply high-quality aftermarket glass. OEE, or Original Equipment Equivalent, meets the same standards without the automaker branding.
What matters most is fit, optical clarity, and compatibility with your vehicle’s sensors. Some vehicles with complex HUD coatings or infrared layers prove finicky with aftermarket options. In those cases, OEM can save you from a second appointment. On mainstream models with simple rain sensors and a forward camera, top-tier OEE glass performs well and can cost less. A trusted shop will be direct about the trade-offs. If the price difference is small and your vehicle relies heavily on the windshield for advanced features, paying for OEM can be sensible. If the difference is large and your system calibrates cleanly on OEE, you are not compromising safety.
Adhesive quality and why you should care
Shops seldom advertise it, but the urethane adhesive choice drives your safe-drive-away time and long-term durability. Premium adhesives cure faster and maintain strength across wider temperature ranges. Budget products can work, but they often require longer cure windows and can be sensitive to cold or humidity. The adhesive also needs compatibility with primers and glass coatings.
Ask two questions: which urethane will you use, and what is the recommended safe-drive-away time for today’s temperature? A confident, specific answer signals professionalism. If the tech tells you to drive right away without checking the conditions or the product sheet, that is a red flag.
ADAS calibration: how to know it was done right
Modern vehicles package cameras and sensors behind the windshield. After replacement, the view angles change by tiny fractions, yet those fractions matter when the system tries to identify lane edges or vehicles ahead. Proper calibration sets the software’s expectations to the new physical reality.
Here is what to expect. The shop scans the vehicle for faults before and after the job, then follows a calibration procedure specified by the automaker or a validated equivalent. Static calibration requires a level floor, controlled lighting, and target boards placed at exact distances. Dynamic calibration requires a precise drive around marked roads at steady speeds. When finished, the shop should provide a printout or digital report showing the calibration status. During your next drive, your lane-keep or forward collision icons should behave normally, not blink or throw warnings. If they do, call the shop. Often a missed parameter or a poorly placed camera bracket is the culprit, and a re-calibration fixes it.
How mobile service differs from shop service
Mobile service has matured. A well-equipped mobile technician can handle most vehicles, provided the weather cooperates and a safe workspace is available. The main difference shows up with ADAS calibration and harsh weather. Static calibration typically demands an indoor facility, a level surface, and specialized targets. Some shops use mobile rigs with portable targets and leveling equipment, but not all do. If your car requires static calibration, the shop might ask you to visit the facility after the glass is installed. That split approach is normal and not a sign of poor service.
Weather is the other consideration. If temperatures drop near freezing or winds howl, even the best mobile setup struggles. The adhesive can cure slowly, and airborne dust can contaminate the bead. In those conditions, a shop visit can save time and ensure quality.
What you will pay, and how insurance fits in
Costs swing based on vehicle, glass type, sensor count, and local labor rates. A straightforward compact car windshield without sensors might run a few hundred dollars. Complex windshields with acoustic layers, solar coatings, lane cameras, a HUD zone, and heating elements can reach four figures. Labor time, adhesive quality, and calibration add to the bill.
Insurance often helps, but policies vary. Many carriers cover chip repairs without a deductible, since preventing a replacement saves them money. For replacement, you will likely pay your comprehensive deductible, unless your state mandates lower cost shares for safety glass. Some carriers specify preferred networks. A good shop can still work with your insurer even if it is not on a direct bill list, but you may need to pay out of pocket and wait for reimbursement. Always ask whether calibration is included in the estimate. Too many estimates bury calibration as a separate line that pops up only after the glass is in.
What can go wrong, and how pros avoid it
Leaks happen when adhesion fails or a gap opens along the edge. The root cause can be poor bead shape, misalignment, or damaged trim clips. A careful tech water tests the perimeter and listens for wind noise on a short road test.
Wind noise often comes from missing or deformed molding. Some vehicles use reusable trim, others require new clips or fresh moldings. Reusing old brittle clips might save a few dollars but costs peace and quiet later. If your car had a factory flush-fit glass, expect the same flush fit after replacement. A proud or sunken edge signals trouble.
Stress cracks can appear days later if the glass was forced into a misaligned aperture or if the car encountered an extreme temperature shift before cure. Another cause is an uneven bead that left a void. Shops that use setting tools, check gap symmetry, and follow cure times minimize this risk.
ADAS errors can repeat after a proper calibration if the windshield is not seated precisely or the bracket tolerances are off. OEM glass reduces this risk on sensitive platforms, but technique still rules. If your driver assistance features feel off, do not ignore it. Calibrate again and verify with a scan.
The appointment day: how it usually flows
You arrive and check in. The service writer confirms the work order, features, and any insurance details. If mobile, the tech calls before arrival to re-check the parking and weather. The glass is inspected on-site for defects, since shipping can cause edge chips that are invisible in a box.
Protective covers go down, wipers and cowl come off, and the cutting process begins. While the old glass is out, the technician often shows customers the pinch weld. If there is rust, they explain the options: treat and prime if minor, or refer bodywork if the metal is compromised. Many customers first learn they had prior windshield work at this moment, because old urethane or scratches tell a story.
The new glass gets primed and set, trim goes back on, and the tech checks the perimeter with a visual pass. Sensors get connected, and the car sits for the adhesive to reach its safe-drive-away threshold. During that time, paperwork wraps up. If your car needs static calibration, it rolls into the calibration bay or gets booked for a later slot if you are at a mobile location. The technician hands you aftercare instructions, and only then do you head out.
Aftercare: the first 24 to 48 hours
Treat the adhesive with respect while it cures. Keep windows cracked half an inch if the weather allows. This relieves cabin pressure changes that could push on the glass when doors close. Avoid slamming doors for the first day. Skip the car wash for at least 24 hours, longer if the shop recommends it based on the adhesive. Heat and defrost can run normally, but extreme heat soaking right away can stress the perimeter. If blue tape appears at the edges, leave it for the recommended period. It is not ornamental. It stabilizes the trim and the glass position while the urethane gains strength.
If you spot a wet area or hear wind noise, call the shop immediately. Re-sealing a fresh job is usually quick if addressed right away. Waiting can let dust and moisture contaminate the joint, complicating a fix.
How to judge the quality of the work
You do not need to be a technician to spot the difference between okay and excellent. Look at auto glass repair Camden County the gap between the glass and the surrounding frame. It should be even along the sides and flush with neighboring panels. Inside the cabin, the black ceramic band around the glass should appear uniform. No adhesive should be oozing into the visible area. A thin, consistent bead glimpse along the edge is normal when viewed from an angle.
Run a gentle hose stream over the perimeter and check for leaks along the top corners and base. Water should slide away without dripping inside. Drive at highway speed and listen for whistling near the A-pillars. Rattles over bumps can hint at missing cowl clips.
If your car has lane keeping or automatic braking, observe the first drive. Lane lines should be identified correctly, icons should be steady, and any warning lamps should stay off. Ask for the calibration report if you did not receive one.
Special cases: luxury vehicles, older cars, and trucks
Luxury brands tend to hide sensors and bondings behind elegant trim. That beauty requires patience. Expect slightly longer appointment times and higher costs for moldings and clips. Many luxury windshields incorporate acoustic PVB layers and infrared coatings. Those layers reduce cabin noise and heat, and they should be matched to maintain the car’s character. Aftermarket options exist, but verify that the acoustic and solar performance match your original spec.
Older cars have another quirk: bonded windshields installed decades ago can fuse with time, and earlier replacement work may have cut corners. Rust often hides under the cowl. A conscientious shop will stop and discuss options rather than trap new urethane against bad metal. In some cases, they recommend a body shop repair before returning to finish the glass. It is not upsell, it is necessary to keep the windshield bonded in the event of a crash.
Trucks and commercial vehicles bring size and access challenges. The work area needs extra clearance, and fleet trucks often carry dash wiring and radios fixed to the headliner. Budget a bit more time so the technician can route wires cleanly and seat the glass without interference.
A short checklist to make the day smooth
- Confirm the exact windshield type and features by VIN before the appointment. Clear the dashboard and front seats, and provide a covered workspace if mobile. Ask about adhesive brand and safe-drive-away time for the current weather. If your vehicle has ADAS, confirm whether static, dynamic, or both calibrations will be done, and how you will receive the results. Plan to avoid high-pressure washes and door slams for the first day.
Why picking the right shop matters more than the brand of glass
Two shops can install the same windshield and produce different outcomes. The difference lives in technique, attention, and culture. A shop that trains techs on proper bead profiles, uses paint-safe cutting methods, discards brittle clips, and invests in calibration equipment delivers consistent results. They will share details without defensiveness, provide documentation, and stand behind their work.
On the other hand, a shop that races through disassembly, reuses worn moldings, or shrugs off calibration puts you at risk. You might not notice the shortcuts immediately, but wind noise, leaks, and unpredictable driver aids tend to surface at the worst times.
When you call around, listen for specifics. If a service advisor can explain the process in plain language and ask smart questions about your vehicle’s features, you have likely found a shop that takes Auto Glass seriously.
The bottom line
A well-managed Auto Glass Replacement appointment is calm, orderly, and safe. From inspection through ADAS calibration, every step exists to preserve your car’s structure, restore visibility, and keep driver assistance features working as designed. Your role is simple: prepare the space, verify features in advance, ask a few pointed questions about adhesive and calibration, then give the fresh windshield a day of gentle treatment. The right shop will handle the rest, and when you slide behind the wheel, the car will feel familiar again, just clearer and quieter than it did yesterday.